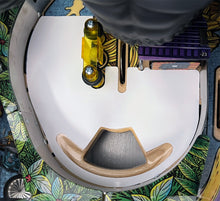
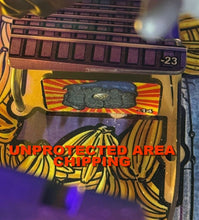
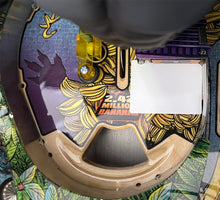
This mylar is designed to help protect the punchback area from playfield art and clear chipping. It's available as a full size mylar that covers the open area and the punchback target OR as a mini version that only covers the area by the punchback target.
The white backing paper only shows the coverage area for the mylar. When installed, the 3mil thick mylar is transparent.
Mylar includes single use alcohol wipe to clean the install area before installing it.
NOTE: If your playfield has already chipped or flaked in the area you intend to install the mylar, you MUST clean and then seal the chip/flake area with Sally Hansen's Hard as Nails clear nail polish #800 (UPC 0 74170 38283 9) to arrest the chipping. If you just put the mylar over the damage without taking this step, the chipping can continue under the mylar.
INSTALLATION TIPS:
- Use the included alcohol wipe to make sure the area where the mylar will go. Let it dry.
- Bend back about 1/2" of the backing paper on the upper left side of the punchback mylar and crease it hard so it sets as flat as possible against the back side.
- Drop the mylar in and line up the cutouts for the switch slot and the little guide wire next to the punchback target.
- When everything is lined up and looks similar to the white paper in the full punchback mylar in the picture here, press down on the exposed piece of mylar on the upper left by the switch slot to set the mylar in place and smooth it so there are no bubbles and the playfield becomes clearly visible through the mylar.
- Then lift the mylar slightly and grab the 1/2" you folded back underneath and slowly pull it down and then right once it gets past the lane guide as you smooth it with a hard edge like a credit card, etc to make sure no bubbles get under the mylar. Pull and smooth slowly for a good install. Note that you may have to push the punchback target in as the mylar rests under the front edge of the target.
- Smooth the mylar more if necessary until it seems to disappear into the playfield.


